the timber floor sanding, concrete grinding &finishing specialists
Slide title
Write your caption hereButton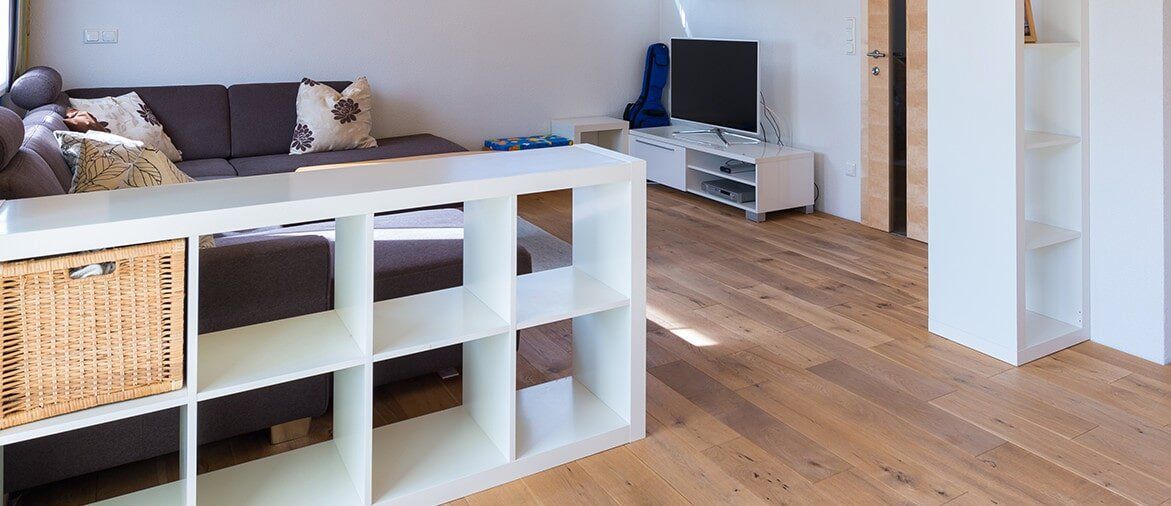
Slide title
Write your caption hereButton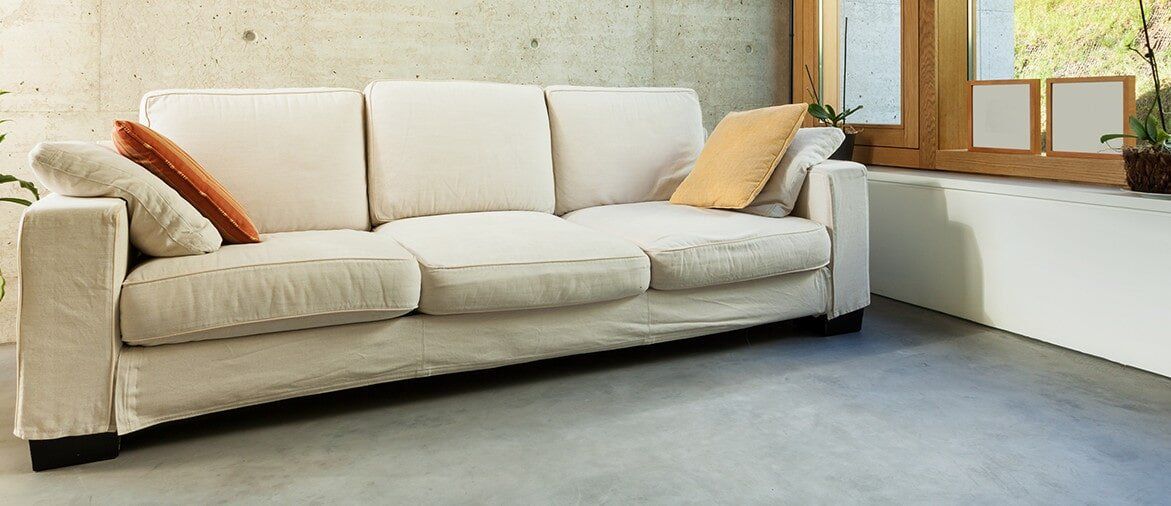
Slide title
Write your caption hereButton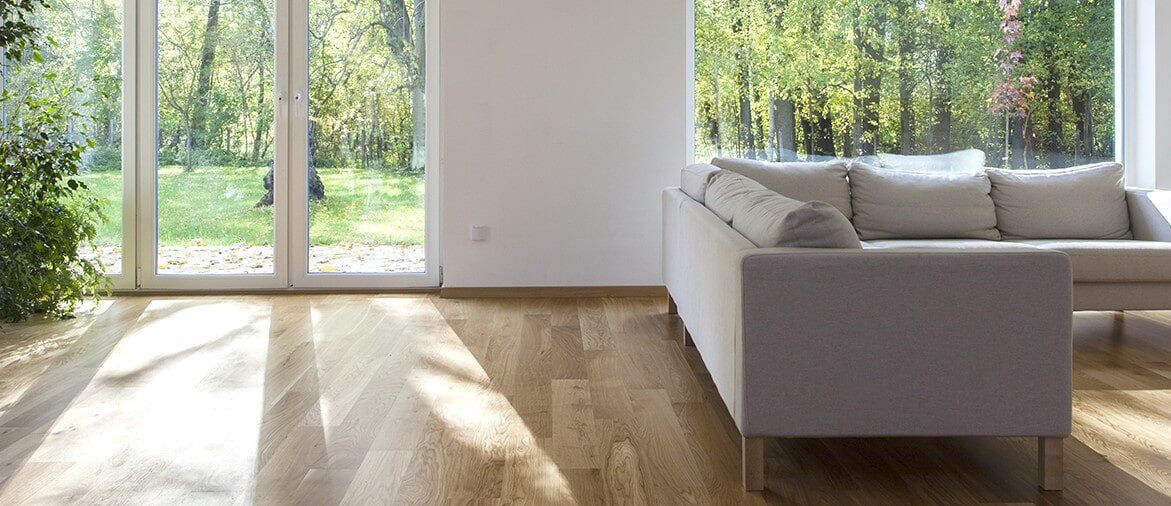
Slide title
Write your caption hereButton
-
Slide title
Write your caption hereButton -
Slide title
Write your caption hereButton -
Slide title
Write your caption hereButton -
Slide title
Write your caption hereButton
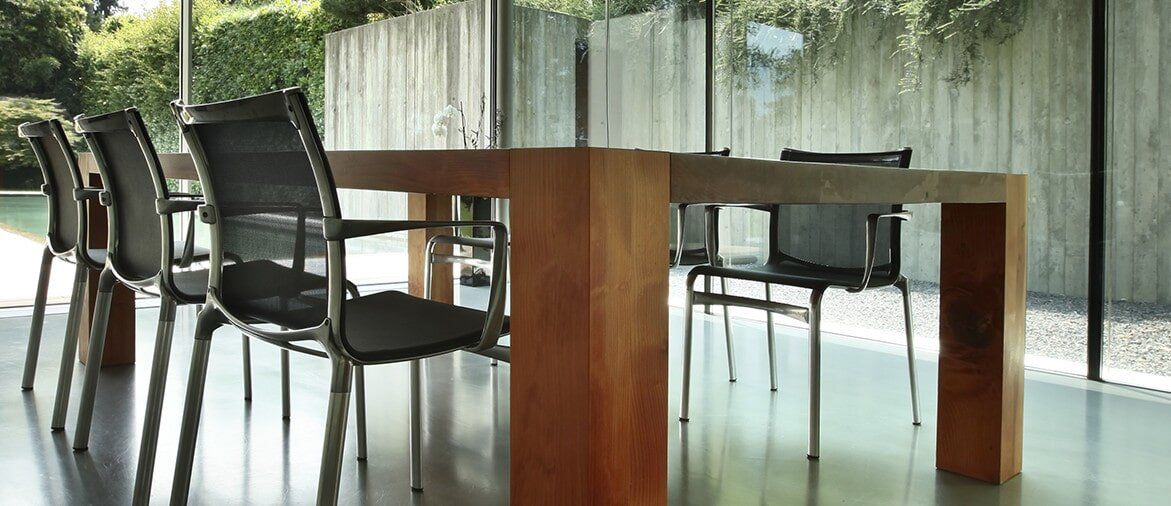
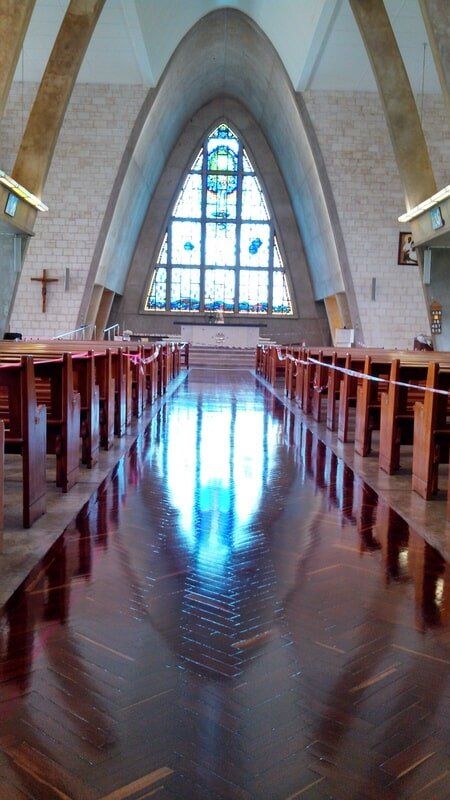
At Floor Grinding NT, we specialise in Darwin timber floor sanding and polishing
The following surface types can be sanded and polished by our expert team:
- All old & new timber floors
- Strip tongue & groove flooring
- Direct stick floor boards
- Parquetry-block and mosaic
- Cork
- Bamboo
- Plywood
- Floating timber floors
- Decking timber verandahs and balconies
- Stairs & staircases
To keep your timber floors looking lustrous, our Darwin floor coating specialists work with environmentally-friendly waterborne products. Our coating products include:
- Water-based polyurethanes
- Decking oils
The following types of finishes can be applied, depending on the product used:
- Low Sheen/Matt
- Satin
- Semigloss
- Gloss
Our systems range from a standard 3 coat system to a premium 4 coat system, depending on the product and application.
Need Darwin floor repairs or installation work? Our team has got you covered. We provide:
- Re-nailing & punching
- Replacements for damaged floorboards
- General floor repairs
- Floor installation
Customer Guide
Your New Floor
- Floor coatings dry within 24 hours, but they will take approximately 10-14 days to fully harden. It is important to follow these guidelines:
- 90% of the curing takes place after 24 hours, but care should be taken for the first 2 weeks until the floors have fully hardened.
- Light furniture can be replaced in this time. Use protective felt pads and avoid dragging furniture as it may scratch the surface.
- Heavy items such as fridges should be moved carefully, ensuring they are not dragged over new floors.
- Wait 2 weeks before laying rugs.
Preparation For Sanding & Coating
- If building or renovating, the start date for sanding and coating floors is critical — particularly in relation to other trades.
- Carpentry, electrical work, plastering, plumbing and glazing must be completed before work on the floor can start.
- Any silicone or silicone-based product which comes into contact with the floor after sanding, but prior to any of the 3 coats, will cause rejection of the coating.
- Silicone is often found on the footwear of plumbers and glaziers. It is recommended that all painting (except the final coat on skirting boards) be completed. The final coat can be applied to the skirtings after completion of the floors.
- Carpets should be laid after all floor coating is finished.
- Unless specifically agreed to and quoted for, all furniture should be removed, together with all floor coverings (including staples, tacks, etc).
- Gas and electrical appliances are to be disconnected by qualified personnel and removed. All pivot lights are to be turned off.
- Adequate lighting and power to be available.
- Arrangements made for clear and safe access to the site.
- In many instances, arrangements should be made for alternative accommodation. This is because there will be wet floor areas that cannot be walked on, as well as the likelihood of strong fumes.
What Not To Expect
- 1.
A completely dust free environment: Modern sanding machinery is fitted with dust collecting equipment and sanders will endeavour to clean dust away by vacuuming and wiping down surfaces. It is virtually impossible, however, to totally eliminate dust from the job. This, in turn, has a couple of consequences:
- There will always be some dust particles that settle on the newly finished surface.
- There will be an amount of dust throughout the rest of the house. Removal of deep cuts such as those from carpet trimming knives or deep gouges in the boards.
- 2.
The removal of stains from within the boards and around nail holes
Stains from such things as animal urine and water marks will not be able to be removed from these areas
- 3.
The filling of gaps between boards
These gaps are not filled because subsequent shrinkage and expansion in the timber will cause cracking in the filler.
- 4.
Boards damaged by borer to have the same gloss level as those in good condition.
- 5.
Areas filled with putty to have the same feel as the timber after application of coatings.
- 1.
A completely dust free environment: Modern sanding machinery is fitted with dust collecting equipment and sanders will endeavour to clean dust away by vacuuming and wiping down surfaces. It is virtually impossible, however, to totally eliminate dust from the job. This, in turn, has a couple of consequences:
- There will always be some dust particles that settle on the newly finished surface.
- There will be an amount of dust throughout the rest of the house. Removal of deep cuts such as those from carpet trimming knives or deep gouges in the boards.
- 2.
The removal of stains from within the boards and around nail holes
Stains from such things as animal urine and water marks will not be able to be removed from these areas - 3.
The filling of gaps between boards
These gaps are not filled because subsequent shrinkage and expansion in the timber will cause cracking in the filler. - 4. Boards damaged by borer to have the same gloss level as those in good condition.
- 5. Areas filled with putty to have the same feel as the timber after application of coatings.
Things You Should Be Aware Of
- Any silicon on the floor will cause the rejection of subsequent coats of polyurethane. Silicone or silicone-based products also include spray-on ironing aids, hair spray, fly spray etc.
- Halogen downlights produce a cobweb effect on the coatings.
- You may get slight marking on skirting boards from contact with the Edger. That is why it is recommended to leave painting of skirtings until after the floors are finished.
- You are likely to get some variations in colour and grain between new and old boards.
Floor Care
- Use mats
Shoes carry sand, grit and small stones which will abrade the floor surface in the same way that sandpaper does. Place mats at entrances and, where possible, place a mat on the inside, as well as outside. Use runners and rugs in high-traffic areas.
- Direct light
Like any quality furnishing or floor covering in your home or premises, direct light (sunlight and artificial light) will cause discolouring over time. To avoid fading and discolouring, filter direct light with curtains or blinds. As floors that have been exposed to light will change colour over time, remember that areas of floor covered with rugs will retain their original colour. Therefore, once rugs are removed, or their position changed, variations in colour will become invisible.
- Maintenance plan
The most important thing you can do to keep your floor looking like new is to establish a regular cleaning and program. Just how regularly you need to clean the floor is totally dependent on the environment the floor is in. Factors such as the level of traffic, the degree of grit carried onto the floor, pets and children, the condition of the immediate outside area etc, all have a significant influence on the wear of the floor. If spillages occur, it is important that they be wiped up immediately.
- Daily/weekly
Use anti-static dust mop to collect dust and dirt. It is important to note that although some people use a vacuum cleaner, generally we recommend against using them. This is because often the brushes on the vacuum head wear thin and the floor is scratched by the metal.
- Weekly/monthly
Wash the floor and avoid harsh detergents. We recommend a neutral floor cleaner (FeastWatson floor clean, Enviropro Squeaky Clean, Rockstar sealing neutral clean), which has been specially formulated for the maintenance of floor coatings. You should make sure you use a cleaner that is also suitable for terrazzo, ceramic, vinyl and lino floors. Apply with a sponge mop. Wring out the mop in clean warm water and wipe off excess, leaving a damp finish on the timber surface. Use only cold or lukewarm water, as hot water can damage the coating surface. Never flood coat a floor with water, as in extreme cases it can cause coating separation from timber swelling at board gaps.
- Recoating
It is advisable to apply a maintenance coat before the surface has been excessively worn. This will eliminate the need for expensive resanding. Exactly when this maintenance coat will be required is entirely down to wear and care. Obviously the greater the traffic the sooner the need for a recoat.
- Use mats
Shoes carry sand, grit and small stones which will abrade the floor surface in the same way that sandpaper does. Place mats at entrances and, where possible, place a mat on the inside, as well as outside. Use runners and rugs in high-traffic areas. - Direct light
Like any quality furnishing or floor covering in your home or premises, direct light (sunlight and artificial light) will cause discolouring over time. To avoid fading and discolouring, filter direct light with curtains or blinds. As floors that have been exposed to light will change colour over time, remember that areas of floor covered with rugs will retain their original colour. Therefore, once rugs are removed, or their position changed, variations in colour will become invisible. - Maintenance plan
The most important thing you can do to keep your floor looking like new is to establish a regular cleaning and program. Just how regularly you need to clean the floor is totally dependent on the environment the floor is in. Factors such as the level of traffic, the degree of grit carried onto the floor, pets and children, the condition of the immediate outside area etc, all have a significant influence on the wear of the floor. If spillages occur, it is important that they be wiped up immediately. - Daily/weekly
Use anti-static dust mop to collect dust and dirt. It is important to note that although some people use a vacuum cleaner, generally we recommend against using them. This is because often the brushes on the vacuum head wear thin and the floor is scratched by the metal. - Weekly/monthly
Wash the floor and avoid harsh detergents. We recommend a neutral floor cleaner (FeastWatson floor clean, Enviropro Squeaky Clean, Rockstar sealing neutral clean), which has been specially formulated for the maintenance of floor coatings. You should make sure you use a cleaner that is also suitable for terrazzo, ceramic, vinyl and lino floors. Apply with a sponge mop. Wring out the mop in clean warm water and wipe off excess, leaving a damp finish on the timber surface. Use only cold or lukewarm water, as hot water can damage the coating surface. Never flood coat a floor with water, as in extreme cases it can cause coating separation from timber swelling at board gaps. - Recoating
It is advisable to apply a maintenance coat before the surface has been excessively worn. This will eliminate the need for expensive resanding. Exactly when this maintenance coat will be required is entirely down to wear and care. Obviously the greater the traffic the sooner the need for a recoat.

